Add a network to an application
Before setting up a blockchain network, make sure you have an application in place. You will always need to create an application first, as this is the context in which you organize networks, nodes, smart contract sets, etc.
Permissioned and public blockchain networks
You can choose to set up a permissioned blockchain network or to join a public blockchain network.
In a public blockchain network, anyone is free to join and participate in the activities of the network. In a permissioned blockchain network (often called a consortium network), participants need to obtain permission to become part of the network. The owner of the network dictates who can or cannot join, and allocates a set of permissions to participants.
SettleMint supports multiple protocols for both types of networks. You can learn more about these protocols in the blockchain guides included in this documentation.
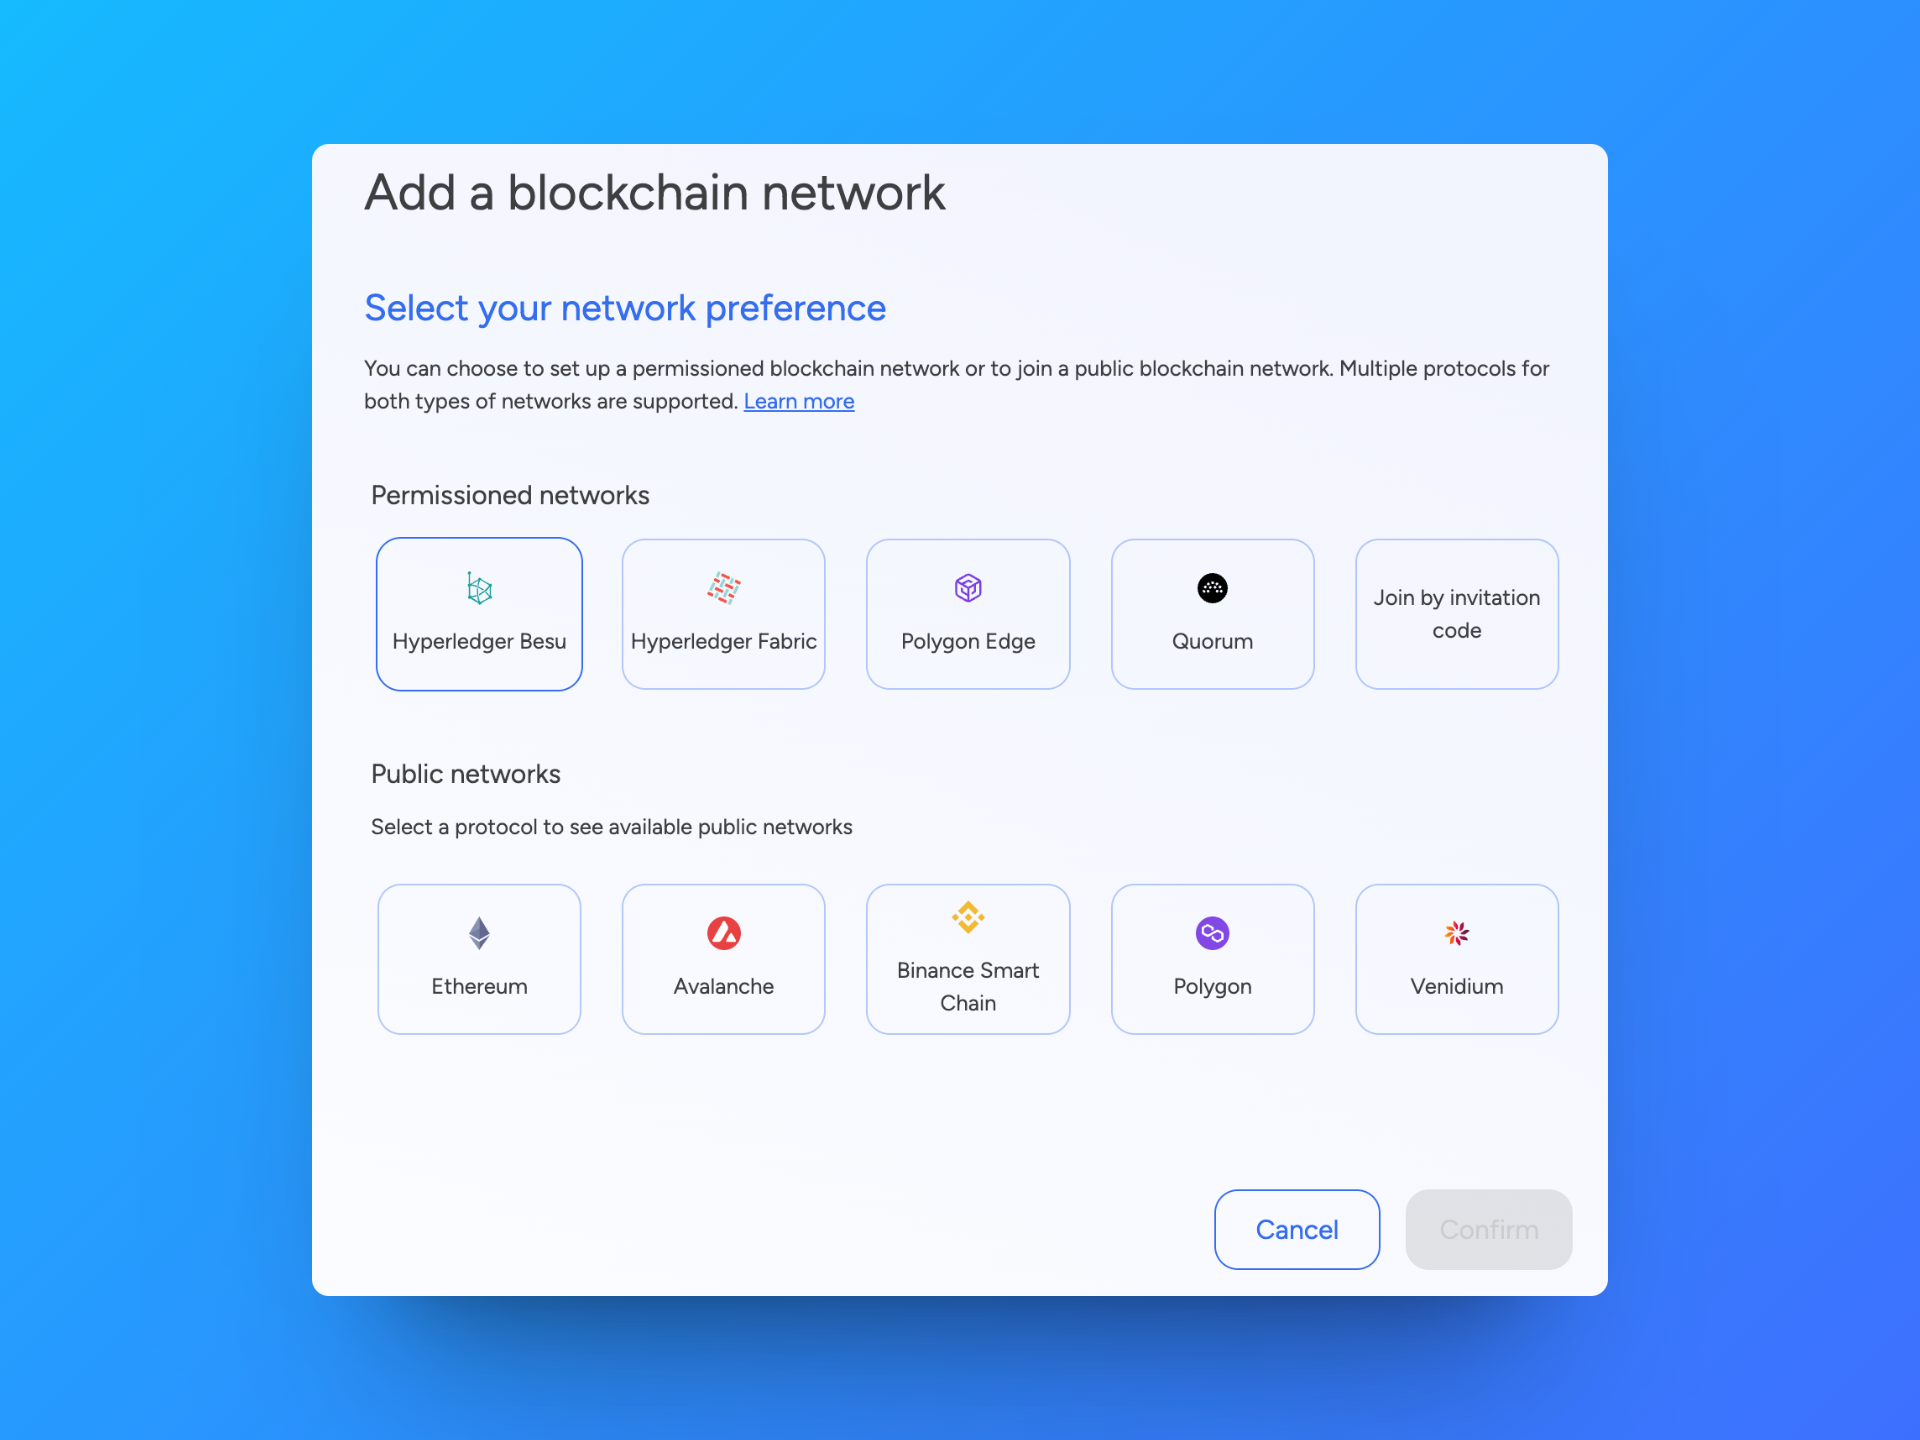
Public networks (Mainnets & Testnets):
Permissioned networks:
How to add a blockchain network
This section describes the general flow for setting up a blockchain network. For protocol-specific information, we refer to the relevant sections in the blockchain guides.
Navigate to the application in which you will create the network. You can get there by clicking the grid icon in the upper right corner, and then clicking the application name to go to the application dashboard.
The application dashboard is still empty. This will change once you added your first blockchain network and node. Click Start here, or click Blockchain networks in the left navigation.
Click Add blockchain network. This opens a form.
Follow these steps to set up the blockchain network:
- First select the protocol of your choice and click Continue.
- Choose a network name and a node name. Choose names that are easily recognizable in your dashboards. If you are joining a public network, you do not need to provide a network name.
Your network needs minimum 1 validating node to be operational. Therefore, we will already deploy 1 validating node to your network. You can add more nodes later.
- Choose a deployment plan. Select the type, cloud provider, region and resource pack. More about deployment plans
- Only for Hyperledger Besu and Hyperledger Fabric, and optional: Configure the network settings. You can choose to keep the default settings, or configure them according to your own preferences. Be aware that these settings cannot be changed once your network is deployed.
- You can see the resource costs associated with this network displayed at the bottom of the form. Click Confirm to add the network to your application.
The network is now added to the blockchain network overview with the status "deploying". When your network is fully deployed, the status will change to "running". This will only take a few minutes. You can click the network in the overview list to see detailed information, e.g. stats, usage metrics, logs, network participants, etc. Depending on the protocol, different network information will be available.
Navigate to the Blockchain nodes section of the application to see the first node that was deployed together with the network. You can click this node in the overview list to see detailed information, e.g. stats, usage metrics, connection info, logs, etc.
Depending on the protocol, different node information will be available.
Now you can start adding more nodes.
Manage a network
Navigate to the application in which the blockchain network is created. Click Blockchain networks in the left navigation, and then choose the network from the overview list.
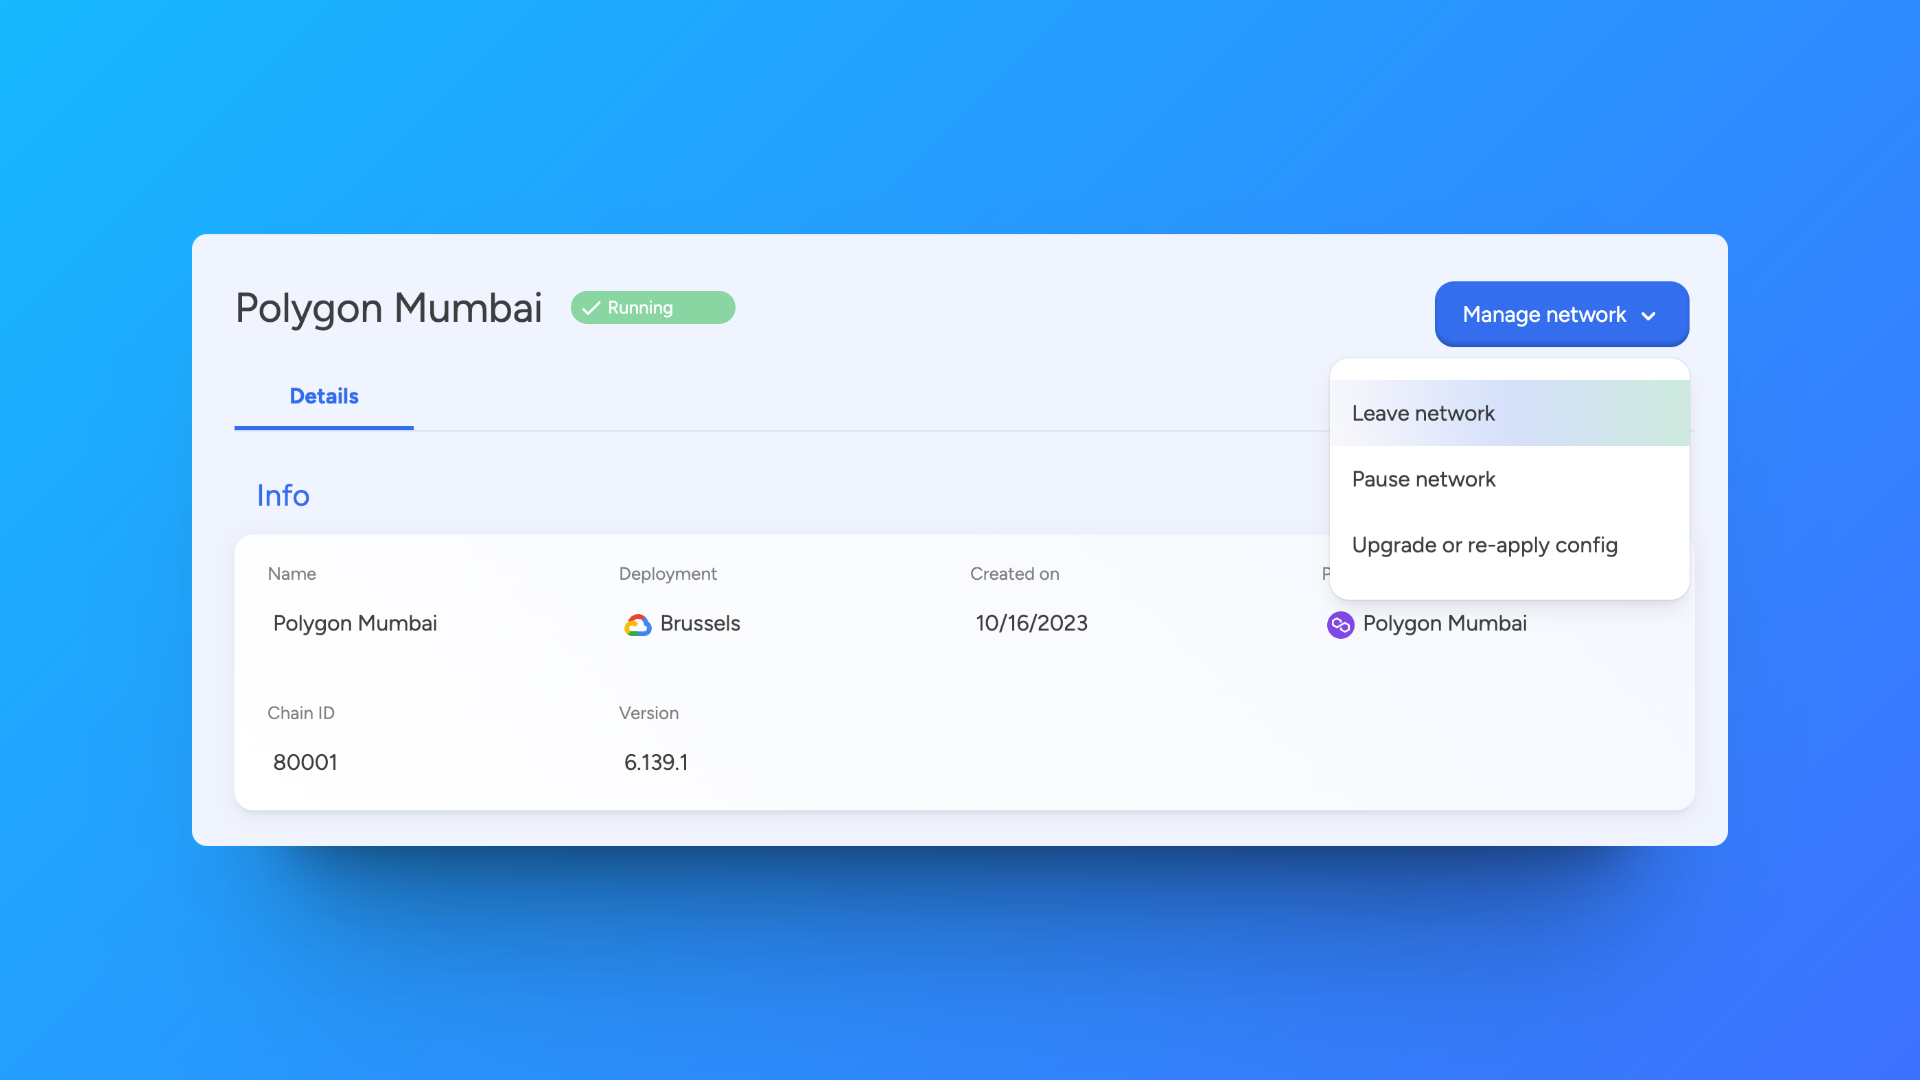
Click Manage network to see the available actions. You can only perform these actions if you have administrator rights.
- Leave Network - Removes the network from the application
- Pause Network - Pauses the network from operation.
- Upgrade or re-apply config -Retry deploying the network or adds more resources.
You can only delete a blockchain network when it has no more resources (e.g. nodes, smart contract sets, etc.) related to it. Resources first have to be deleted one by one.